Background
After working with VMware Support on a case we were asked to install a special patch on the vCenter server. It turned out this patch broke some unrelated functionality we needed (remounting rdm disks on a VM that already had 35 rdm disks). This script runs at night and the next day we decided to roll back vCenter to the backup from the previous day; to the backup that was taken just before the patch was installed.
Problem
Some of our ESXi hosts started showing symptoms of being out of sync, all the stats became blank and no alarms were triggered, just two blue info messages. Trying to reconfigure HA would however trigger alarms.
 |
| Cannot synchronize host servername Quick stats on servername is not up-to-date |
 |
| Quick stats on xxxx is not up-to-date |
.Name -Name VirtualCenter.VimPasswordExpirationInDays") |
| Get-AdvancedSetting -Entity ($DefaultVIServer).Name -Name VirtualCenter.VimPasswordExpirationInDays |
Solution
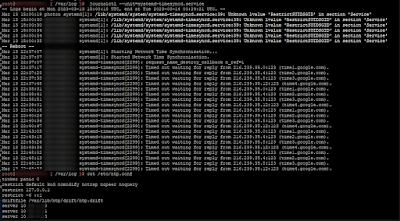
By looking at the logs through Splunk we could find a log entry from vCenter that blew up after the restore:
 |
| Exception occurred during host sync; Got method fault |
Now we could use Splunk to give us a list of the affected servers.
Then we could right click each server from the vSphere client and chose Disconnect and then Connect again.
 |
| Disconnect + Connect |
After having reconnected the hosts things were working fine again and the ongoing error messages we had in Splunk stopped coming.